The weather forecast for my 2nd morning at Badlands National Park was for early morning heavy overcast with rain beginning in the early morning hours. So I did not bother getting up before sunrise, hoping the overcast and rain would dissipate prior to sunset.
Sure enough, I awoke to the sound of light rain falling. I was camped in an area of mostly all clay soil. I knew the rain would be bad news for navigation out of my campsite, so I quickly got dressed and prepared the Sportsmobile for travel. The terrain was already getting muddy and slippery, so I shifted into 4 wheel drive, as I had a couple of low hills to go up on my way out. Those hills sloped sideways as well as upwards and the Sportsmobile was slipping sideways on the hills. Slidding off would not be good. Fortunately, I made it over those two hills, thinking that once I got onto the flat land on my way out of the camping area there would be no problems. Well, even traveling slowly in 4WD, the Sportsmobile still fishtailed in the slippery, wet clay until I got onto the paved roadway.
I drove on into the park, parked in one of the parking areas to have coffee and breakfast as it continued to rain steadily for most of the time.
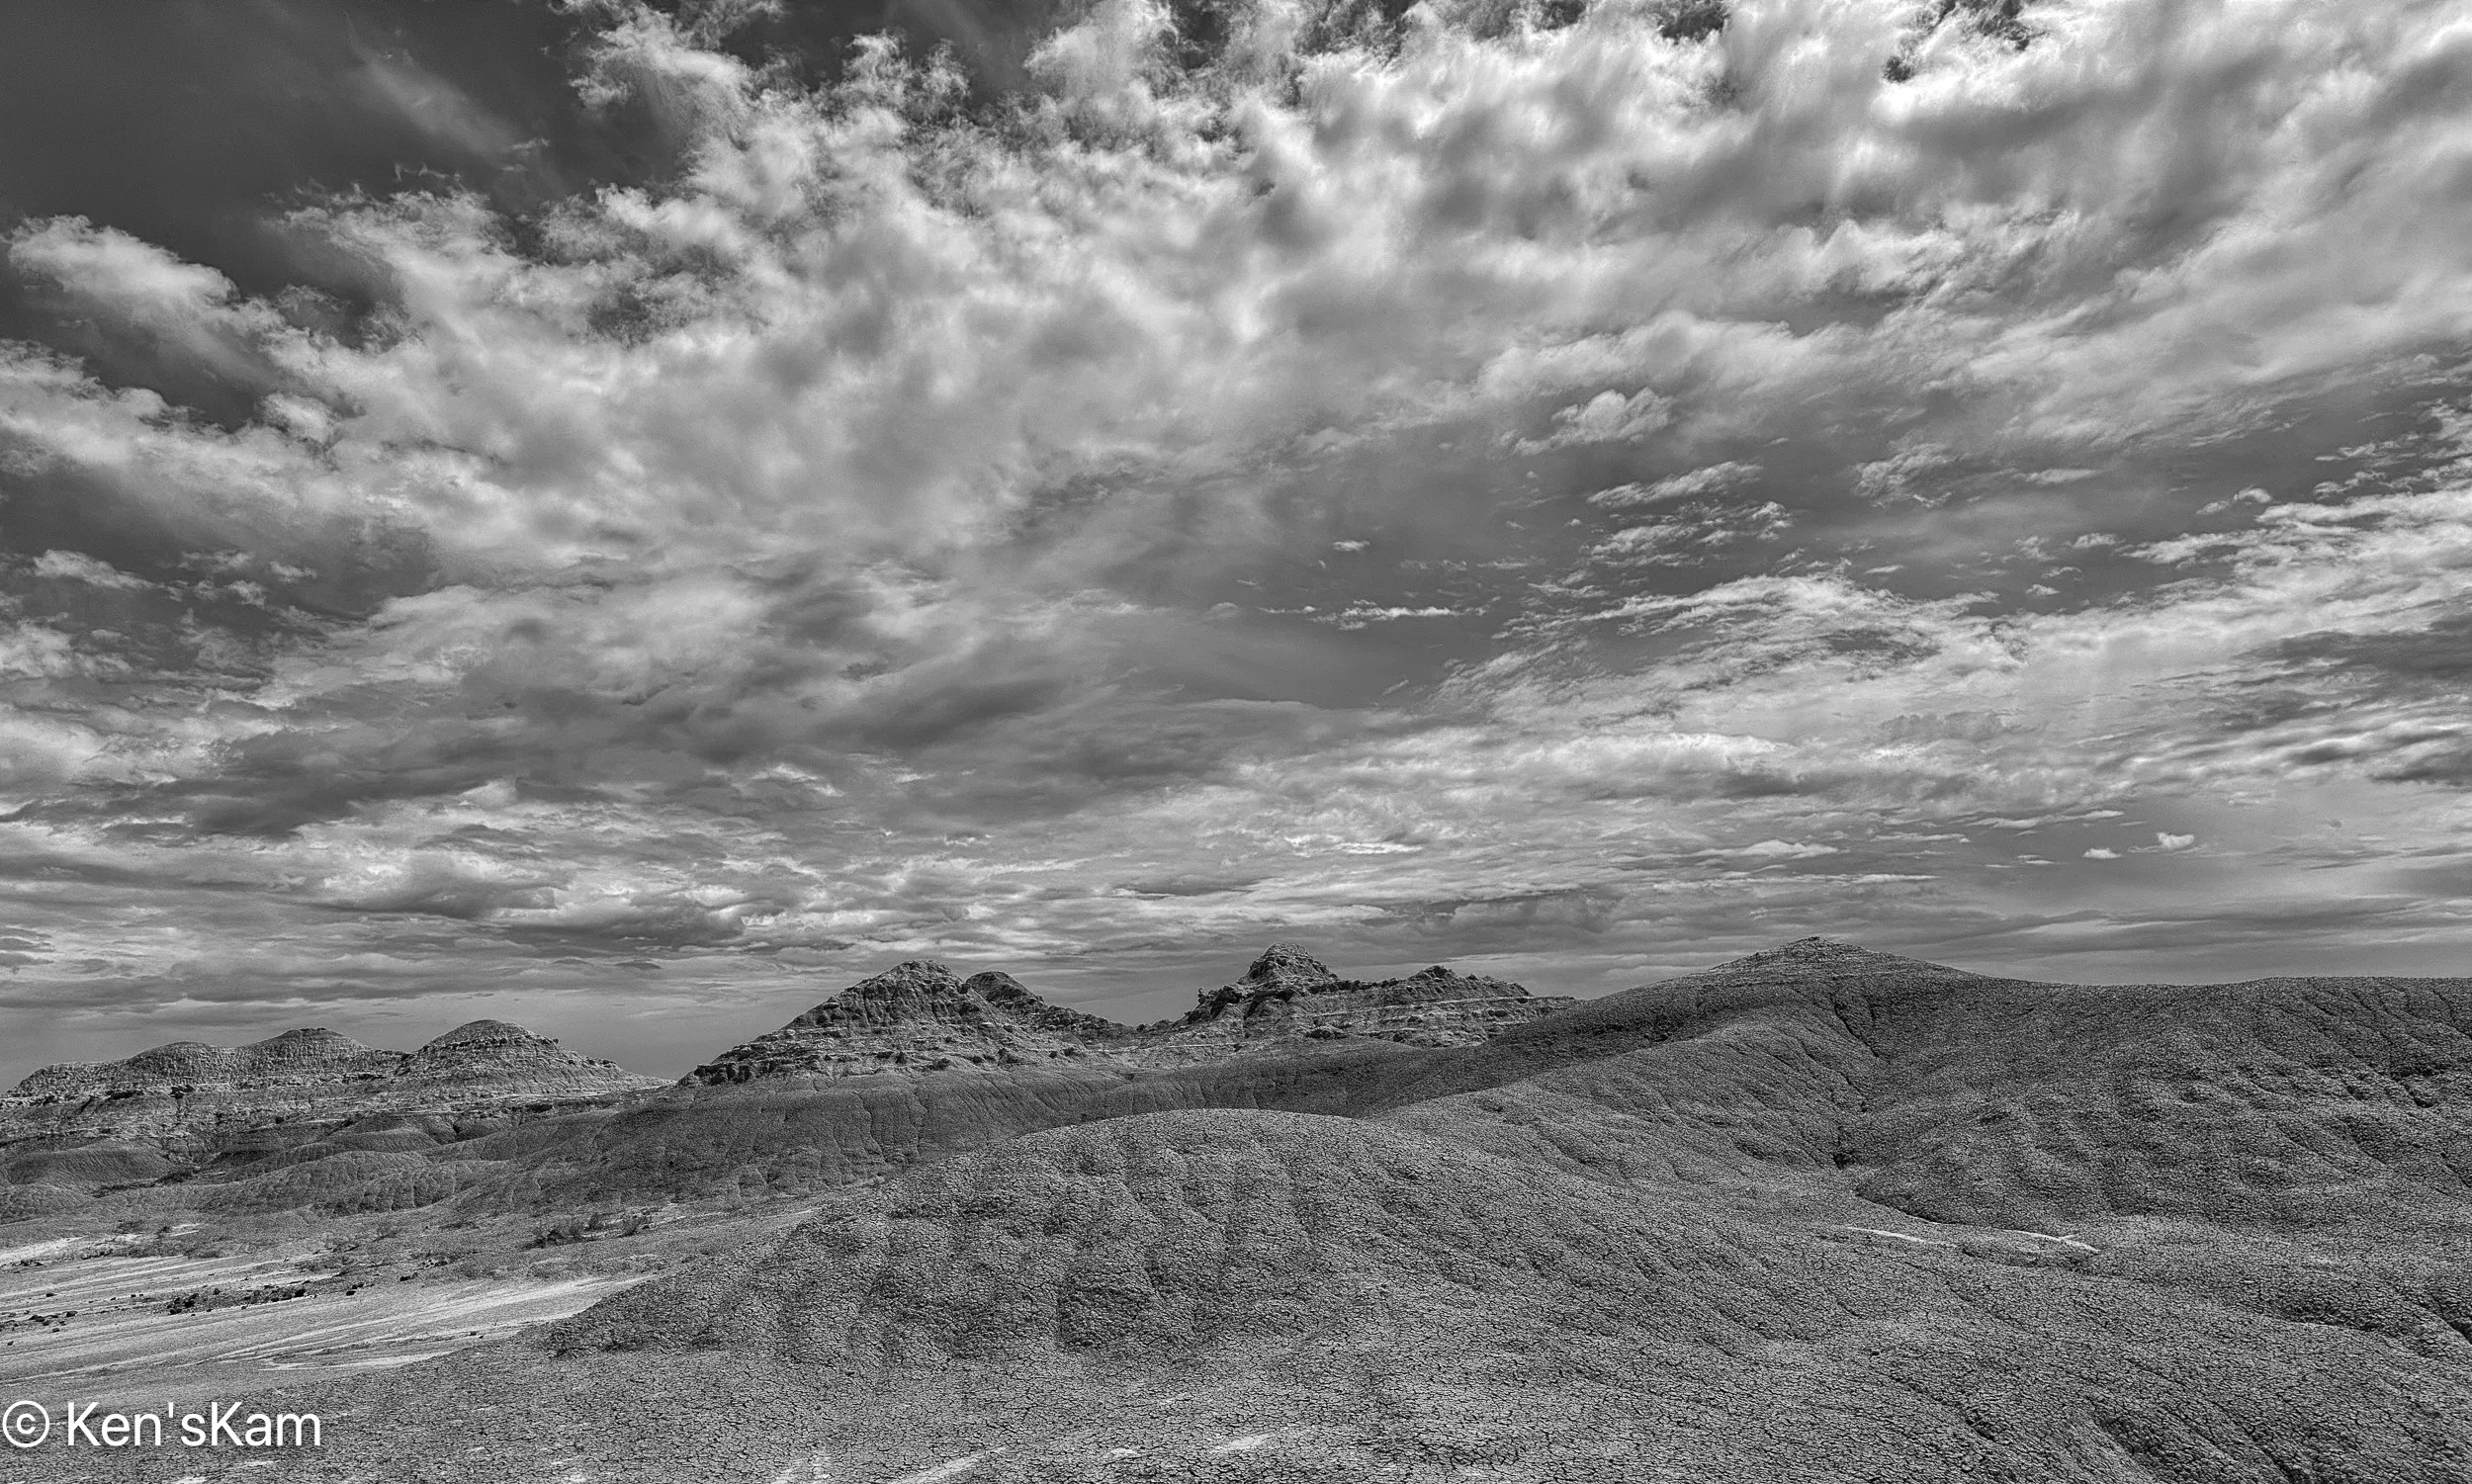
After breakfast, I contiuned to drive through the park in the light rain. It was apparent that I would not be able to get off of the paved roadway area due to the soggy soil everywhere else. I stopped periodically, walked around in the rain and shot with my iPhone, since it was easier to keep the rain off of the iPhone camera lens than it would have been to do with my big Nikon lenses.
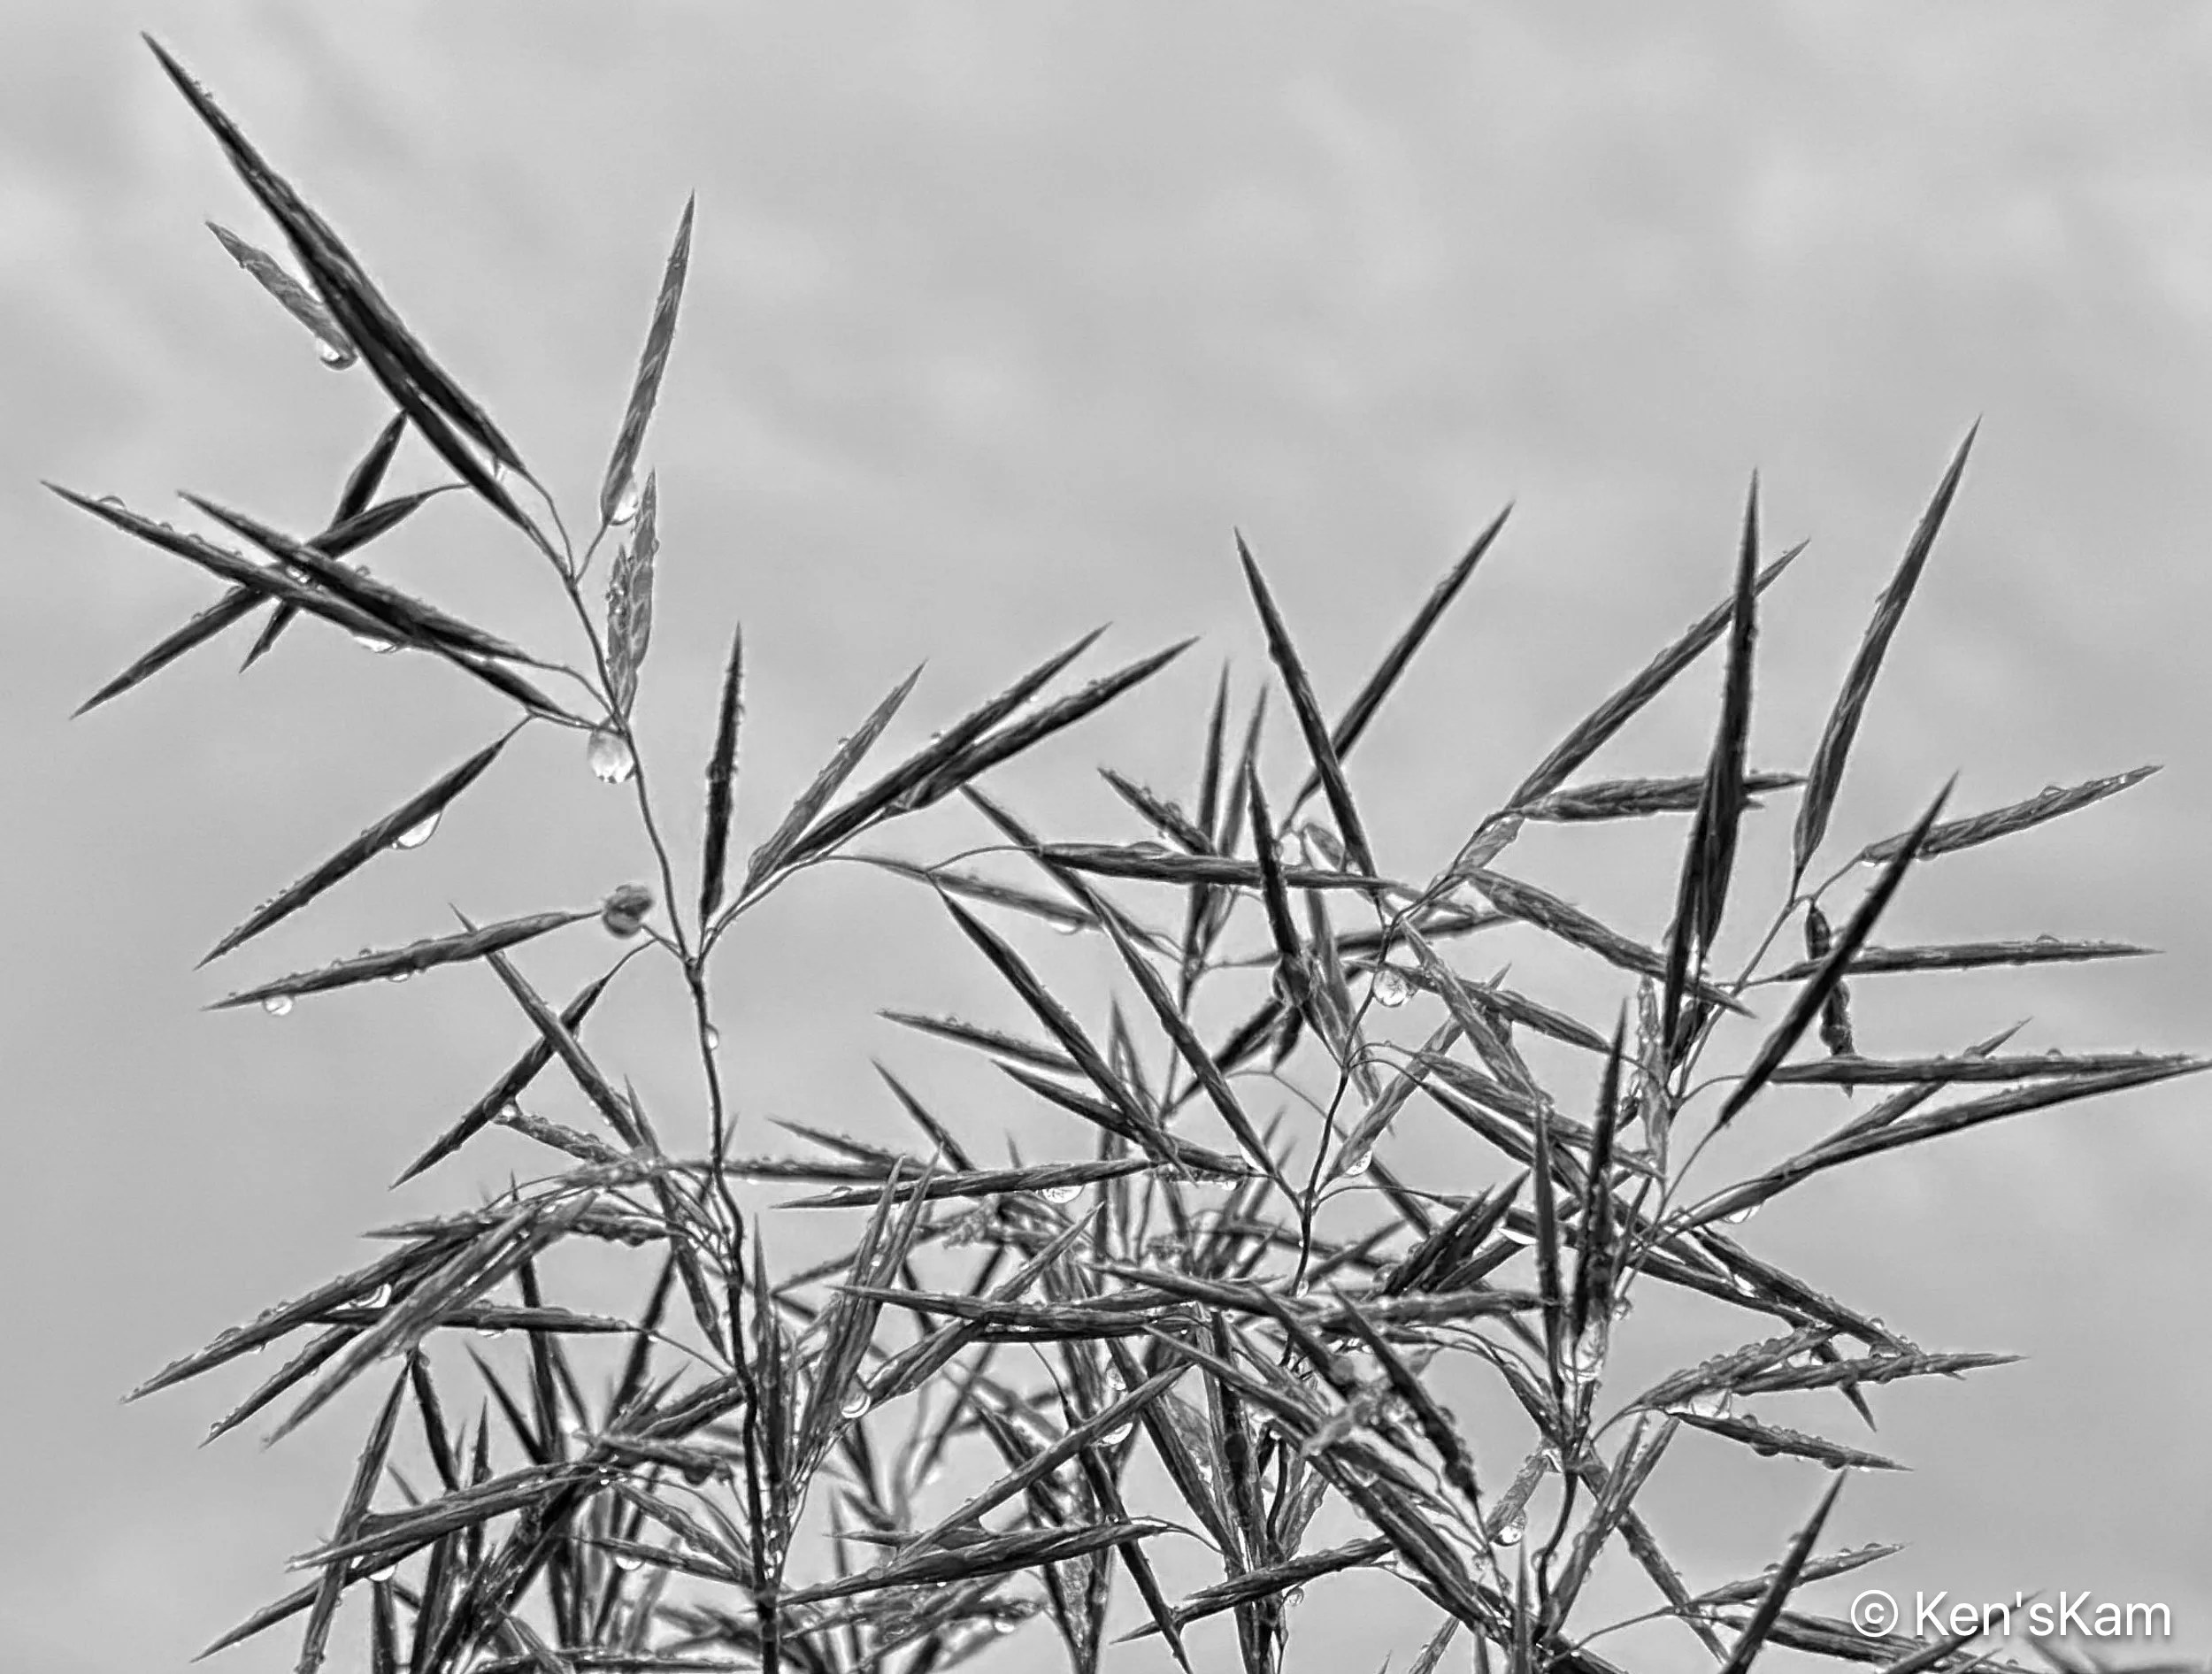
The rain added some mood to the park scenes and the wettness enhanced the color in the geologic features. There were many wildflowers and grasses along the roadway, which I photographed with raindrops covering them and sometimes with the park features in the background, although the depth of field with the iPhone was severely limited in such scenes.


Stay tuned for more rainy day iPhone photography in Badlands NP, South Dakota.
Ken